
Welcome to EmailPoint! Get started by creating your first campaign. Here are the simple steps you need to follow:
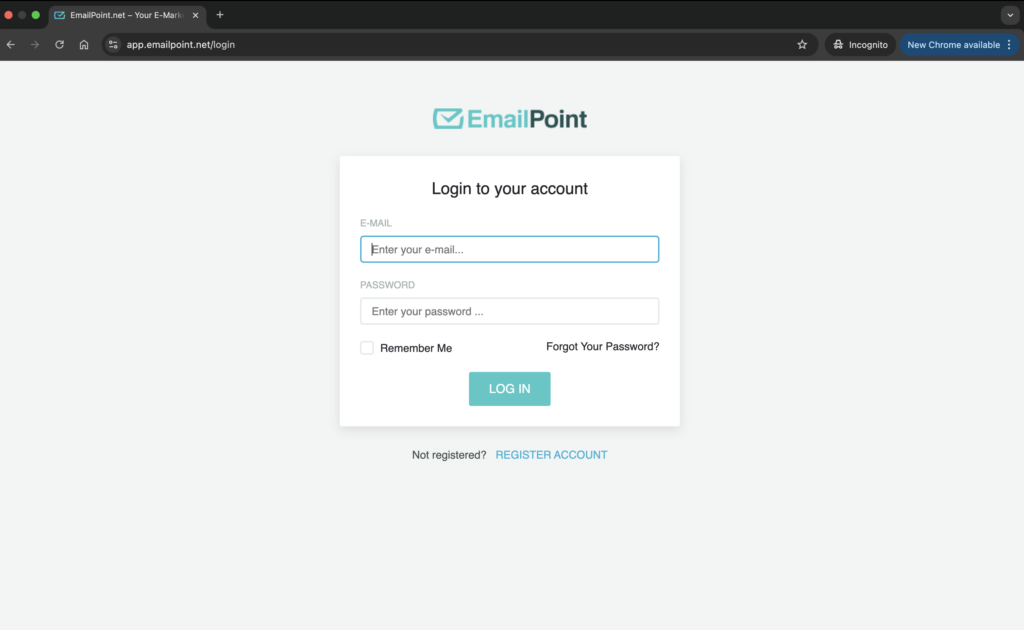
Step 1: Log In to Your EmailPoint Account
- Go to EmailPoint.net.
- Enter your email and password.
- Click Log In. If you don’t have a registration, choose “Sign Up” and create one.
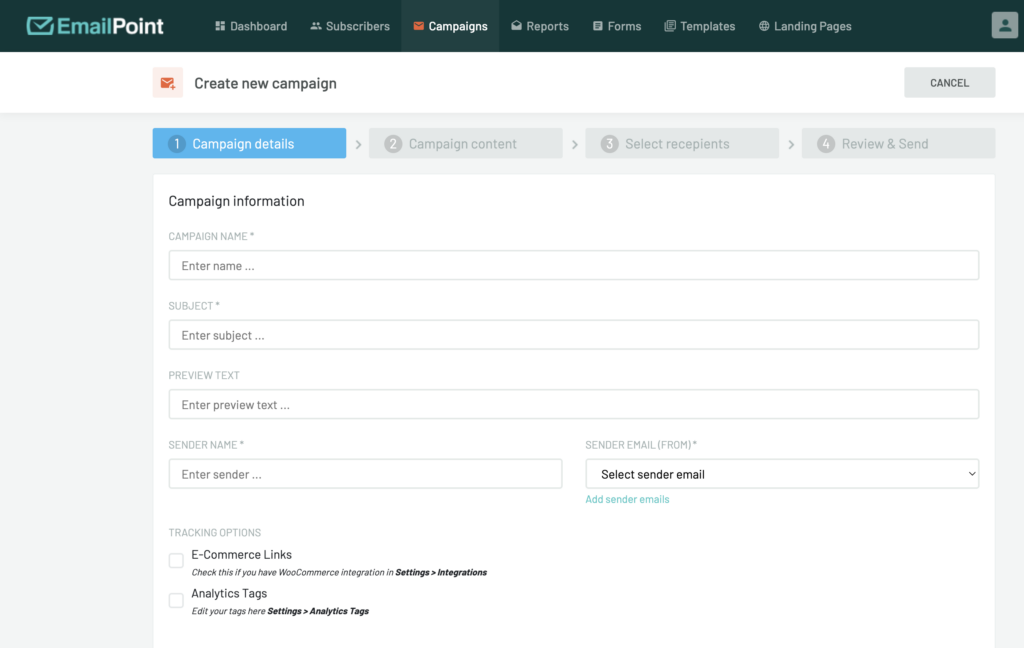
Step 2: Create a New Campaign
- In the dashboard, click on Create New Campaign.
- Fill the Campaign details, give your campaign a name and click Continue.
Step 3: Campaign Content
- Choose how you want to create your email – Drag&Drop Editor, HTML Editor or Plain text Editor.
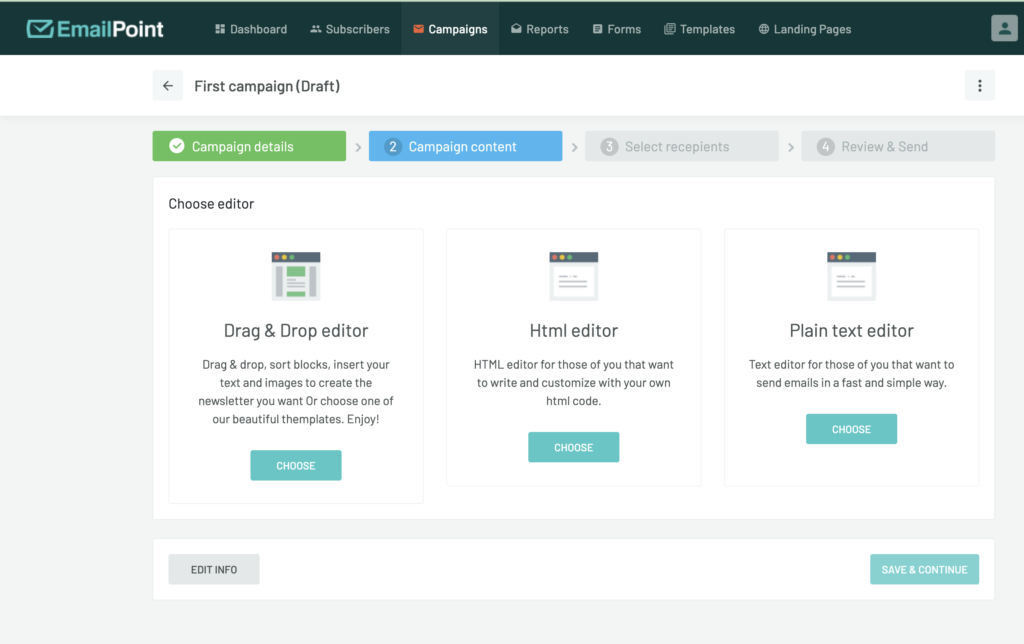
2. By clicking Drag&Drop Editor you can choose between over 120 ready templates for your ease
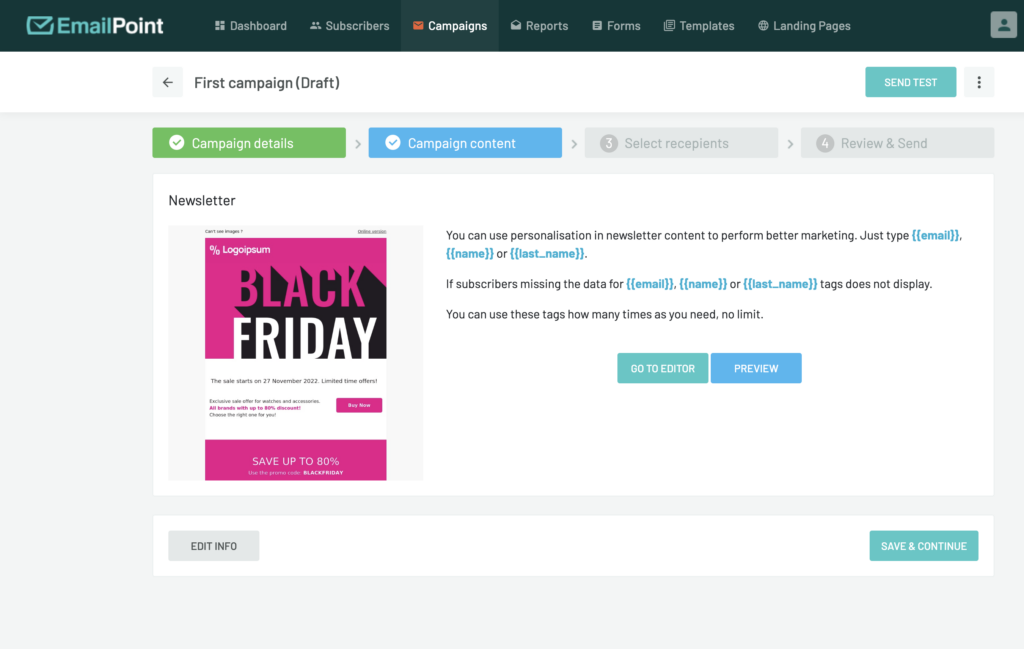
3. After your finish your email, click Done. Click Save&Continue.
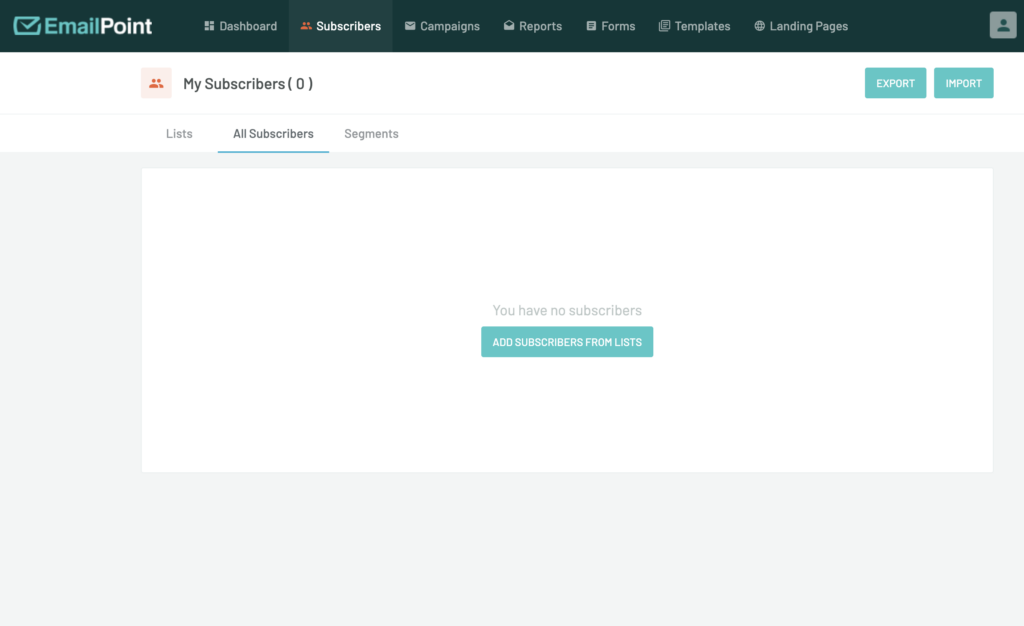
Step 4: Select Recipients
- To create your first Subscribers list, click “Add lists and subscribers from lists”.
- Then “Create a new list” and simply add a name to the list.
- When the list is created, click the dots on the right side of the screen and choose “Import” from the drop down menu.
- You can directly import a file with your subscribers or you can “Copy and paste” your subscribers. Make sure everyone on your file-list signed up for it and granted you permission to send them emails.
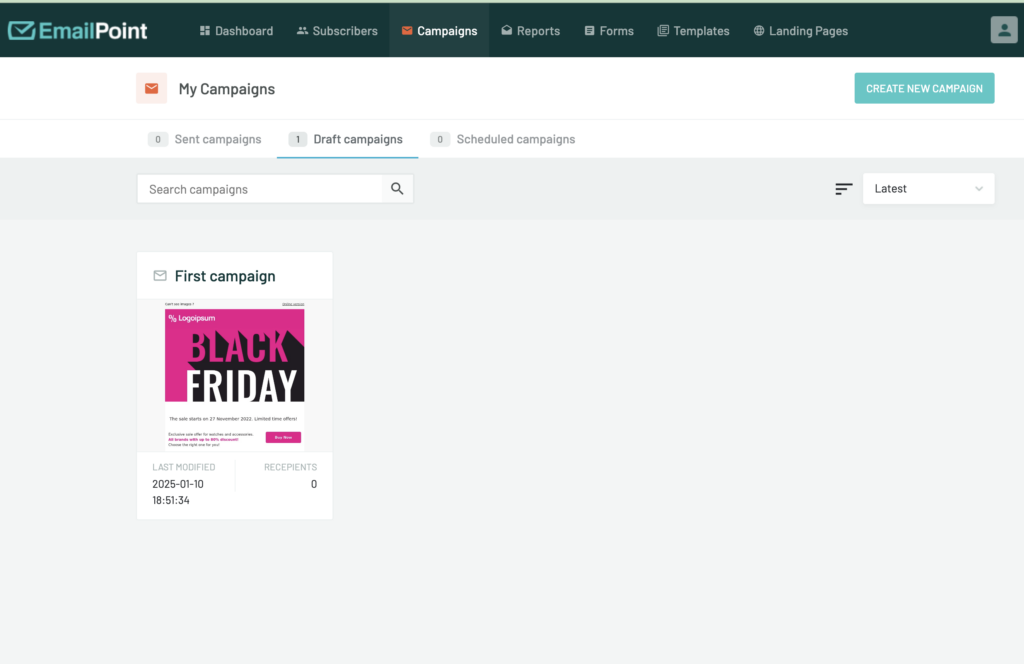
Step 5: Drafts
- After you have uploaded your subscribers, go back to Campaigns from the top menu.
- Click Draft Campaigns and go into your prepared email
- Select recipients by choosing the subscriber’s list you uploaded and click “Save & Continue”
Step 6: Schedule and Send
- Add Sender Email
- Set your sending time—Now or Later.
- Click Send Campaign to launch your email.
Step 7: Campaign Results
- You can see all your previous campaigns in the tab “Sent Campaigns” with the most important analytics regarding each email.
- In Draft Campaigns you will be able to see all your prepared emails that are not sent yet.
- If you decide to Schedule campaigns, before they are sent, you will be able to see them in the 3d tab on your menu called “Scheduled Campaigns”
If you need any assistance or have additional questions, don’t hesitate to contact our customer service team at office@emailpoint.net.